Nodejs file upload tutorial
File upload is an important feature in modern day web applications. In some previous tutorials, Dynamic PHP photo gallery and CodeIgniter File Upload were explored in detail. This tutorial is about nodejs file upload with MongoDB using multer package.
User uploads a photo with a caption to the server and is stored in a MongoDB database. Uploaded photos are displayed in a photo gallery. You will learn about mongoose, nodemon, multer packages and materialize framework.

Following tasks are performed in this tutorial.
1. Create a MongoDB database and a collection.
2. Create a Nodejs, ExpressJS application and a model for Photos
3. Install Mongoose, Multer and Nodemon modules and use materialize library.
4. Display uploaded photos to Photo Gallery
5. Create a form and upload photos to Photo Gallery
Install MongoDB and NodeJS
First, you need to install MongoDB and NodeJS on your system.
Install and run MongoDB
To install MongoDB, visit MongoDB website and download according to your operating system.
How to run MongoDB
If you are running MongoDB first time, create data directory because the mongod process needs to write to the data directory. If you are using Windows create a directory data in C drive.
Then create a directory db inside it or on command line create a directory using command
mkdir -p /data/db
On command line open mongdb directory. Then go into bin directory. If system path variable is set, type mongod or ./mongod otherwise type mongod –dbpath /path/to/data/directory.
Access interactive mongo shell
Open a second command prompt window to access interactive mongo shell. After setting system path, type mongo or ./bin/mongo. By default, MongoDB connects to localhost on port 27017.
To create or switch to a new database, run use [database name] command.
> use dbphotogallery
Uploaded photos and caption data is saved in photos collection in MongoDB database. Find command shows all the record in photos collection.
db.photos.find().pretty();
Install NodeJS
To install nodejs, visit nodejs website and download and run the installer. This will also install NPM or Node Package Manager. let us generate nodejs file upload application.
Install express generator
Express Generator is required to generate an express application. Express generator can be installed using NPM.
> npm install express-generator -g
Generate NodeJS File upload application using Express
Open the command line and go to the direcotry where you want to create your project. type following command.
express --view=pug nodejs-file-upload

Next, you need to install required dependencies. To install dependencies.
cd nodejs-file-upload && npm install
Install other modules
Some other modules are required to upload files and access database.
Install Nodemon
Nodemon monitors the application and if it detects a change in NodeJS code, it automatically restarts the server so changes can take effect.
npm install -g nodemon --save
Install Mongoose
Mongoose is used for MongoDB object modeling for NodeJS. We will insert and fetch records from MongoDB database using Mongoose.
npm i --save mongoose
Install Multer
Multer is a middleware used to handle file uploads in NodeJS.
npm install --save multer
Running nodejs file upload application
To run the application, on the command line, type
nodemon bin/www
Nodemon will run the server and watch for the changes in application. Open the browser and type the URL :
http://localhost:3000
You can view your application running.
Create Model for photos collection
In order to fetch or insert records to MongoDB, Mongoose is used.You need to create a Model for photos. So in the root folder create a new directory Models. Add a new file Photo.js.
var mongoose = require('mongoose');

var Schema = mongoose.Schema;

var photoSchema = new Schema({

  path:  { type: String },

  caption: { type: String }
  });

module.exports = mongoose.model('Photos', photoSchema);
Two fields are added to this model, Path to store the path of the uploaded file. Caption is added by the user for the uploaded photo. In the last, Photo model is exported using modules.exports.
Add a folder to upload files
Open the public folder and add a new folder called files in it. This folder is used to save user uploaded files.
Update layout.js file in Views
Open a layout.js file in Views directory and add the code below into it. Materialize library is used for front end. Materialize is modern and responsive front-end framework.
doctype html
html
  head
   link(href='https://fonts.googleapis.com/icon?family=Material+Icons', rel='stylesheet')

   link(rel='stylesheet', href='https://cdnjs.cloudflare.com/ajax/libs/materialize/0.100.2/css/materialize.min.css')
   link(rel='stylesheet', href='/stylesheets/style.css')

   meta(name='viewport', content='width=device-width, initial-scale=1.0')

   title Nodejs file upload with MongoDB

  body
    block content
    script(src='https://code.jquery.com/jquery-3.3.1.min.js')
    script(src='https://cdnjs.cloudflare.com/ajax/libs/materialize/0.100.2/js/materialize.min.js')
Matelize CSS and custom stylesheet is included. After content block tag, jQuery, materialize JavaScript files are included.
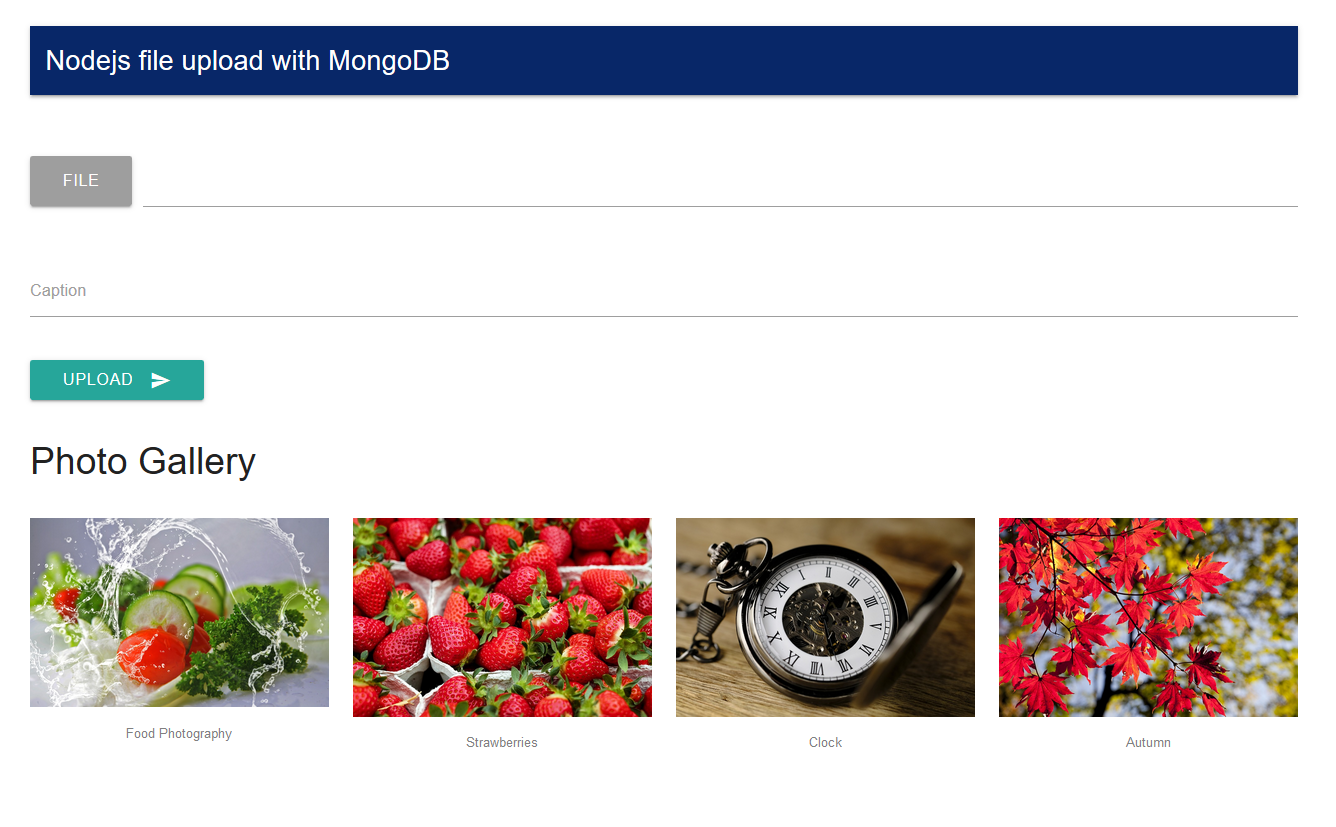
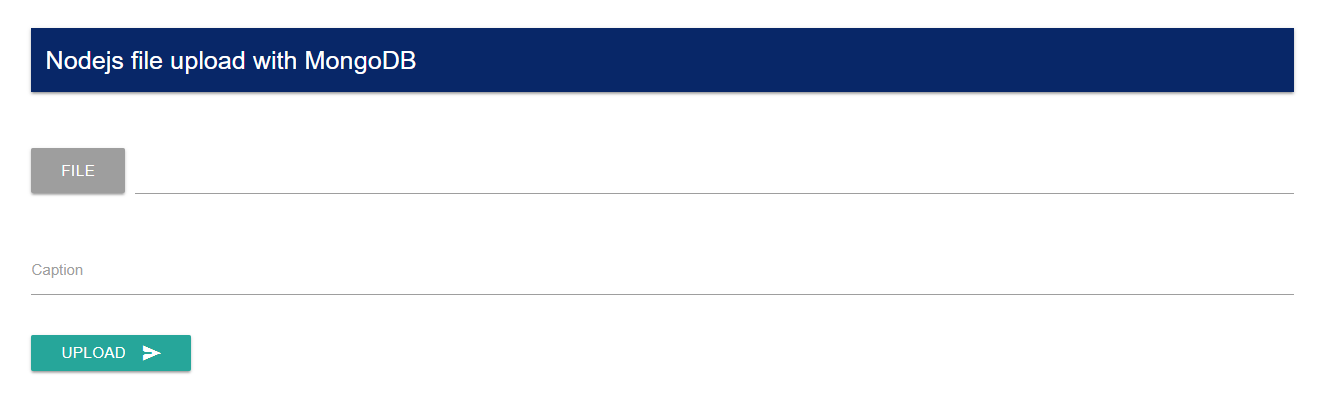
Create a form to upload a photo
Open index.pug file in views folder and add code.
form(action='/upload' method="POST" enctype="multipart/form-data")
      .row
        .col.s12
          if msg ==1
            .success
              | Photo uploaded successfully
          else if msg == 2
            .error
              | File size too large
          else if msg == 3
            .error
              | Invalid file type. Only JPG, PNG or GIF file are allowed.
      .row
        .col.s12
          .file-field.input-field
            .btn.grey
              span File
              input(type='file' name="photo" required)
            .file-path-wrapper
              input.file-path.validate(type='text' )
      .row
       .input-field.col.s12
        input#caption.validate(type='text' name="caption")
        label(for='caption') Caption

      .row
        .col.s12
          button.btn.waves-effect.waves-light(type='submit', name='action')
            | Upload
            i.material-icons.right send
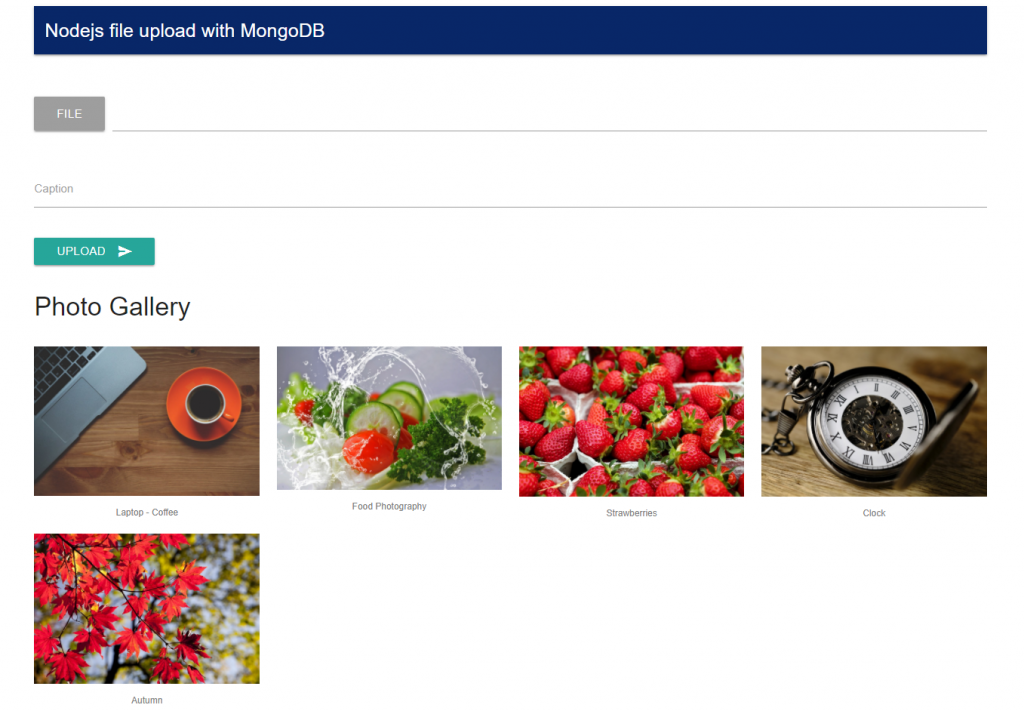
Display photos in a photo gallery
Now you need to create a photo gallery to display photos.
.row
        .col.s12

         h4 Photo Gallery

      if photolist.length

         | <div class="row">

         each pic, index in photolist

          |<div class ="col s3"><img src = #{pic['path']} alt="image" class="responsive-img" /><p class="center-align caption">#{pic['caption']}</p></div>

          if (((index+1) % 4) == 0 )

           | </div><div class="row">

      else

       .row

          .col.s12

            .caption No photos uploaded yet.
Connect to MongoDB Database
To connect to MongoDB database, open app.js file. Add this code below other require statements.
/* connect to database */

var mongoose = require('mongoose');

mongoose.Promise = global.Promise;

mongoose.connect('mongodb://localhost/dbphotogallery');

require("./models/Photo");
First, mongoose module is included, and Global promise is assigned to mongoose.promise. A database connection to dbphotogallery is made using mongoose.connect method on localhost server. Then Photo model is included.
Fetch all records from MongoDB
Let us fetch all photo paths and captions from photos collection. Open index.js file in routes folder. Include mongoose and Model.
var mongoose  = require('mongoose');

var Photo     = mongoose.model('Photos');
Go to ‘/’ route. Replace the code in the route with the code given below.
Photo.find({}, ['path','caption'], {sort:{ _id: -1} }, function(err, photos) {


     if(err) throw err;

     res.render('index', { title: 'NodeJS file upload tutorial', msg:req.query.msg, photolist : photos });

});
As you can see records are fetched using find method for the model. Inside find method, {} represent the condition(Like Where clause in SQL), this is empty in this case.
Next, column values to be fetched are specified i-e: path and caption. The third argument is how you want to sort the records. Records are sorted based on _id field in descending order.
In the callback function, error and photo records are returned. Index view is rendered with a msg flag used to display message and photos records are assigned to a photo list array.

NodeJS upload a file and insert to MongoDB
Form action is set to /upload route, note down the method POST and enctype = multipart/form-data. The user selects a file, adds a caption and clicks the upload button.
Add multer code to upload a file
Open routes folder and add a file uplaod.js. In uplaod.js add following code to upload the file to the server.
const multer = require('multer');
const path   = require('path');

/** Storage Engine */
const storageEngine = multer.diskStorage({
  destination: './public/files',
  filename: function(req, file, fn){
    fn(null,  new Date().getTime().toString()+'-'+file.fieldname+path.extname(file.originalname));
  }
});

//init

const upload =  multer({
  storage: storageEngine,
  limits: { fileSize:200000 },
  fileFilter: function(req, file, callback){
    validateFile(file, callback);
  }
}).single('photo');


var validateFile = function(file, cb ){
  allowedFileTypes = /jpeg|jpg|png|gif/;
  const extension = allowedFileTypes.test(path.extname(file.originalname).toLowerCase());
  const mimeType  = allowedFileTypes.test(file.mimetype);
  if(extension && mimeType){
    return cb(null, true);
  }else{
    cb("Invalid file type. Only JPEG, PNG and GIF file are allowed.")
  }
}


module.exports = upload;
Multer library is included and assigned to a constant multer. path variable is assigned from path module. Path module is used to work with file sand directories paths in NodeJS.
Define storage engine for multer
A storage engine is defined as diskStorage. Upload Destination is ‘./public/uplaods’ directory. Instead of saving file with its original name. A new file name is generated using a callback method. The original file name is concatenated with the current timestamp and converted to a string.
You can get a file name from file’s originalName property. Extension of the file is extracted using path module’s extname method. Uploaded file is passed to extname method.
Validating uploaded file
A utility method is created for validating mime type and file extension i-e png, jpg or gif. This method returns an error in case of incorrect file type or true otherwise.
Multer upload file method
A multer upload method is defined with an object with storage engine and file size in bytes. fileFilter is assigned a validate file method. As a single file is uploaded, in single method file name is specified. Upload method is assigned to module.exports.

Nodejs file upload – upload route
Open index.js file in routes directory. Add include upload.js on top of the file.
var upload = require('./upload');
After ‘/’ route add a new upload route with a POST method. A callback method accepts request and response objects.
router.post('/upload', function(req, res) { ... });
Nodejs file upload – insert record to MongoDB
To perform nodejs file upload using multer library and insert the record to MongoDB.
upload(req, res,(error) => {
      if(error){
         res.redirect('/?msg=3');
      }else{
        if(req.file == undefined){

          res.redirect('/?msg=2');

        }else{

            /**
             * Create new record in mongoDB
             */
            var fullPath = "files/"+req.file.filename;

            var document = {
              path:     fullPath,
              caption:   req.body.caption
            };

          var photo = new Photo(document);
          photo.save(function(error){
            if(error){
              throw error;
            }
            res.redirect('/?msg=1');
         });
      }
    }
  });
In upload method request and response are passed. In the callback, an error is returned. On success, the user is redirected back to home page.
In else case, fullpath path is assigned to a variable. A JSON document is created with the path of file and caption of the photo.
A photo model object is created and the document is passed to it. photo.save() method is called with a callback method that returns an error if document is not saved. User is redirected back to home page with success flag on successful insertion.


You can view latest photo uploaded by the user.
How to run nodejs file upload application
If you are already running nodemon then you only need to open the browser and type the URL.
http://localhost:3000
Summary
To summarize, in this tutorial you have learned to install MongoDB and Nodejs. Created a Nodejs, Express application and installed mongoose, multer and nodemon modules.
Application’s front end is designed using materialize framework. A model is created for photos collection. Multer module is used to upload files to the server. Photo path and caption is inserted to MongoDB using mongoose.
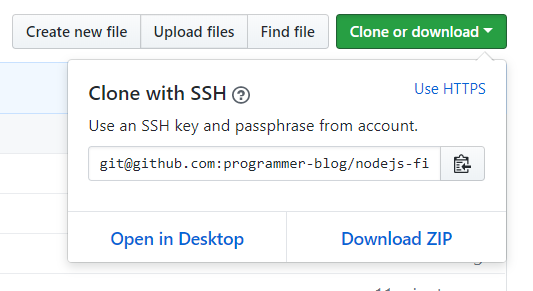
Source code for this tutorial
Source code for this tutorial can found on Github. You can clone or download using this GitHub link.
Hope this tutorial is helpful to you. Leave your feedback or comments below. To stay updated with new articles and tutorials, follow us on twitter, like our Facebook page or subscribe to our newsletter.
Related Tutorials:
- NodeJs user registration tutorial
- NodeJS MongoDB RESTful API
- NodeJs MongoDB Tutorial
- PHP dynamic photo gallery
- CodeIgniter file upload tutorial
Previous Tutorial:
Next tutorial